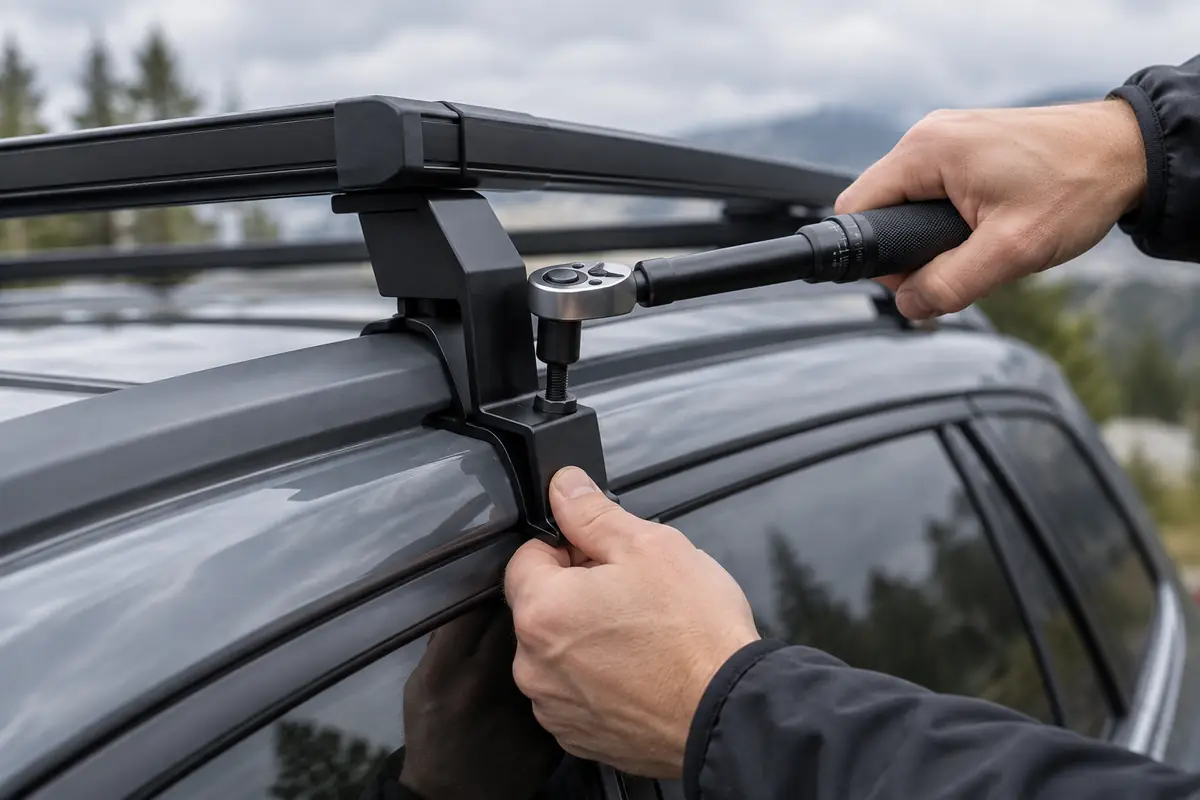
A quality roof rack is one of the most satisfying installs in the automotive world: no drilling, no wiring, usually under an hour with basic tools. But a few details separate an install that lasts a decade from one that chews paint or loosens at highway speed. Here's the process we walk every customer through.
Before You Start
Gather the basics: the included torque key or hex keys, a tape measure, a soft cloth, and — critically — your rack's install guide. Clean the contact points on your rails or roof with the cloth. Grit trapped under a clamp is how paint scratches happen; thirty seconds of wiping prevents all of it.
Check the parts list against the box contents now, not halfway through. Every Mavorya rack ships with its hardware bagged and labeled by step.
Mounting to Raised Rails
- Set the tower spacing. Measure between your front and rear clamp positions — most vehicles use a consistent spacing marked in the guide. Measure twice; asymmetric spacing is the most common install error.
- Loosely assemble towers to the bars. Leave everything finger-tight so you can adjust position.
- Place the rack on the rails and center it. Confirm the overhang is even on both sides.
- Torque the clamps in sequence — front-left, rear-right, front-right, rear-left — in two passes: snug, then to spec. The torque-limited keys stop at the right tightness automatically.
Mounting to Flush Rails or Tracks
Flush rails use fitted feet that wrap the rail. The sequence is identical, but pay attention to foot orientation — the curved side follows the rail. Track systems slide into the track channel; position them, check spacing, then torque. On trucks with fixed anchors, hand-start every bolt before final tightening to avoid cross-threading.
The Checks That Matter
- The shake test: grab a bar and shake the rack hard side-to-side and front-to-back. It should move with the vehicle, not independently. Any rock means a clamp isn't seated.
- The 100-mile re-torque: vibration settles new installs. Re-check every clamp after your first short drive, then monthly.
- Height note: measure your vehicle's new total height and stick the number on the dash. Garages and drive-throughs are taller than they look.
Loading for the First Time
Start with something light and strap it down with the methods from our capacity guide — centered between the bars, strapped in two directions. Take a ten-minute loop around town, then check the straps and clamps again. That first loop tells you everything: noise, position, strap security — while the stakes are still low.
Mistakes That Cause Damage
- Over-torquing without a torque key. Crushed rails and stripped threads come from "tighter is better" thinking. Torque-limited hardware exists for a reason.
- Skipping the re-torque. Nearly every rack-on-the-highway story starts with clamps that were never re-checked.
- Ignoring the door frame warning. Clamp-style bare-roof systems grip the door jamb — paint protection rubber must be seated properly.
Installing in Cold or Wet Weather
Racks don't wait for perfect weekends. In cold weather, rubber pads and clamp isolators stiffen — warm them in your pocket or indoors for ten minutes first, and expect torque keys to need slightly more force. Wet rails are slippery rails: dry the mounting surfaces before clamping, or your carefully measured spacing will shift as you torque. If you install in the rain anyway, do the shake test twice — once immediately, once after the drive home.
When to Stop and Ask
Some roofs genuinely need a human: unusual factory rails, aftermarket sunroofs with weight warnings, bed-cap trucks, or vehicles with side-curtain airbag routing near the door frame. If anything about your roof doesn't match the guide's photos, stop before forcing it — a two-minute email with a side photo of your roof gets you a real answer from someone who's seen your exact vehicle before. That's infinitely cheaper than a cracked rail cover or a stripped anchor.
A Word About Used Racks and Hand-Me-Downs
Used racks are a great value, but install them with extra care: check for hairline cracks around tower welds, confirm the previous owner included all clamps (hardware is model-specific, not generic), and replace any missing rubber pads before mounting. A rack that spent five years in a coastal garage may look fine and be rusted from the inside at the welds. Thirty minutes of inspection — or one email with photos to the manufacturer's support — is the difference between a bargain and a roadside surprise.
Follow the sequence and the checks, and installation is a one-coffee job. If anything doesn't match the guide — odd rail shapes, hidden anchors, spacing questions — email us a photo of your roof and we'll walk you through it before you turn a single bolt.